

One of the incredible things that you can do in IT is called virtualization, basically, it is creating a computer inside a computer. For more information about virtualization visit our post here.
Today we will focus on how you can install a hypervisor and deploy your virtual machine. We will be using Windows 10 as our host machine and VMware workstation 16 as our hypervisor. You can download a free copy here from the official website.
Installation:
The first thing you will want to do is open the .exe file and follow the wizard installation

Click Next and Agree with the terms.

Keep clicking Next and then install.

Extras:
Once VMware Workstation player 16 is installed the next thing we will require is an iso, an iso image contains the core files of an operating system.
Depending on what you want to install you should visit the operating system website and download the iso. For this tutorial, I will be using ubuntu 20.04.
Deploying VM:
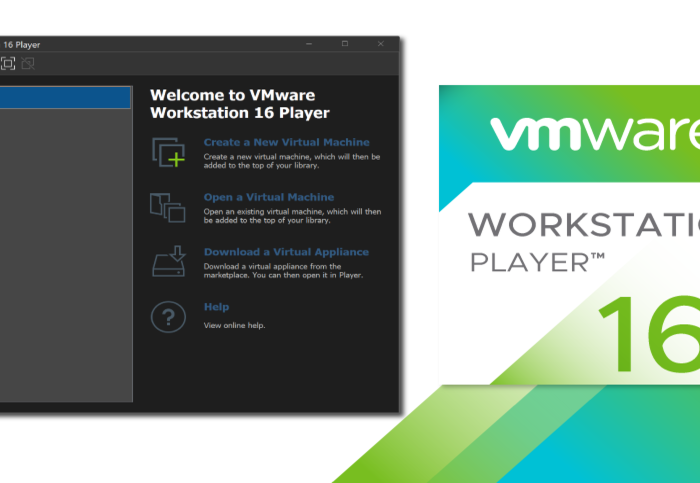
Open VMware workstation and choose “Create a New Virtual Machine”

The press “Browse…” and select your iso file.

Create your account.

Choose your VM name.

Select your VM disk size:

And then finish. You can also configure more settings on “Customize Hardware…” such as RAM, CPU cores, etc.

Conclusion:
After finishing the installation, it will ask you to download VMware Tools. I recommend you to do so since it will increase performance. Then the VM will initiate.


That would be it. This is the basic deployment of a virtual machine in VMware workstation.
I hope you found this useful.